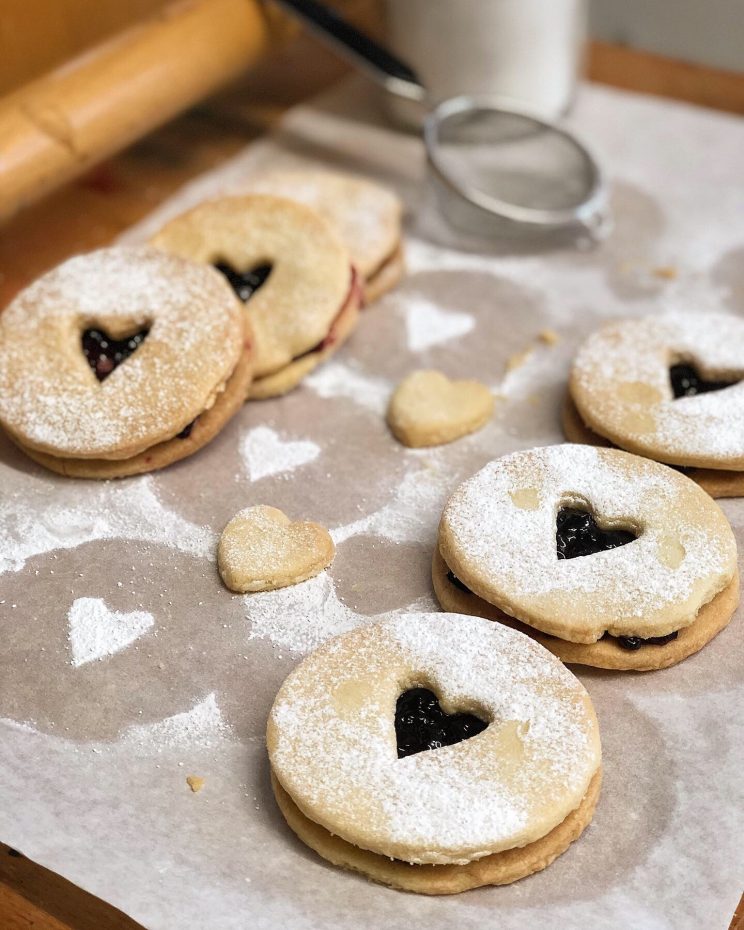
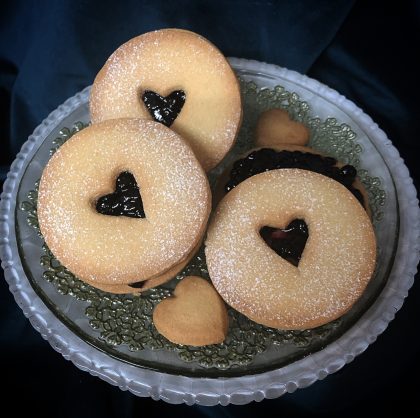
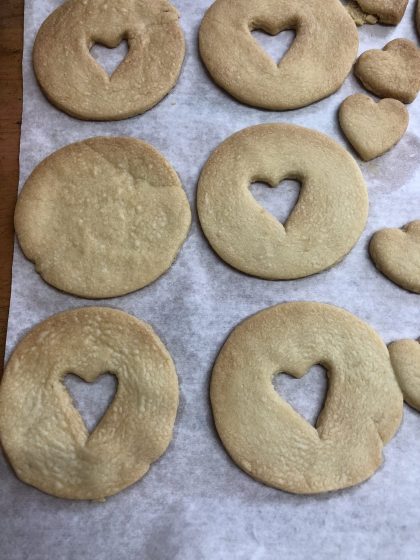
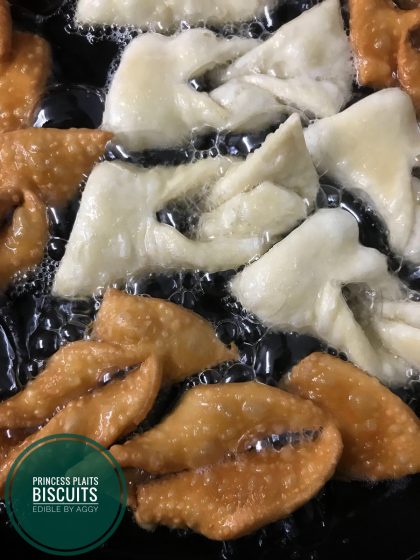
Jammy Dodgers biscuits.
I have a very tasty recipe for you – Jammy Dodgers biscuits and I am sure you are familiar with these!
Everyone loves biscuits and we crave them more when we haven’t got them. So I have created my own Jammy Dodgers biscuits.
The world has gone a little bit crazy recently and we all are familiar with the recent news of social distancing, lockdown and quarantine. People have gone crazy in many countries and bought much more food than they have needed. Now the sad reality is some of us can’t get the basics products including biscuits.

I know many of you will agree with me that home made goods are much tastier and baking helps bond us. So I came up with this simple recipe to make Jammy Dodger biscuits that would vaguely resemble the well known brand. Why vaguely? Well because these are much tastier and healthier than the shop alternative.
Live Bake Along!
On Sunday afternoon 2pm UK time many of you from all over the world have tuned in and we have baked all together. People from New Zealand, Argentina, Poland, Germany, UK, America just to name a few countries, all in different time zones connected by the love of baking!
We had tiny kids, teenagers, parents, mums, dads even grandparents baking with us. People who never baked before and those who are very experienced!
Even though we were separated we were still together! Please join us HERE
Many of you haven’t had all the ingredients and I have worked out some substituted as times are tough.
The recipe is super easy and quite quick covering many key points of learning for kids so another winner.
Right, I will stop convincing you to make them, just go ahead and try it!
Method.
To make Jammy Dodgers biscuits you will need:
- 260g of plain flour
- 160g of icing sugar
- 3 heaped tbs of corn or potato flour
- dash of vanilla extract or 1/4 of tsp or real vanilla beans
- 200g straight from the fridge cold butter, chopped finally
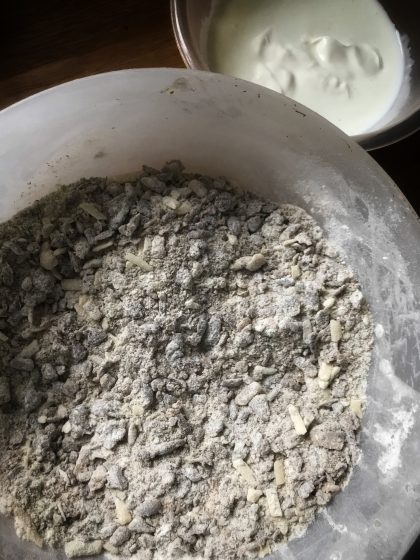
Put all the above in a bowl and work it with your hands for all the ingredients to incorporate. You can use a mixer if you wish but we quite like using hands for this recipe.
When nice and smooth, flatten it and put in a fridge for 20-30 minutes and turn on the oven to 180C top and bottom heat to warm up.
When the dough is rested, take it out and cut in half.
Start with rolling one half to 5mm thickness using plenty of flour to avoid sticking to the worktop.
Cut even amount of circles and in half of them cut a small shape, weather it is a heart, star or just a smaller circle.
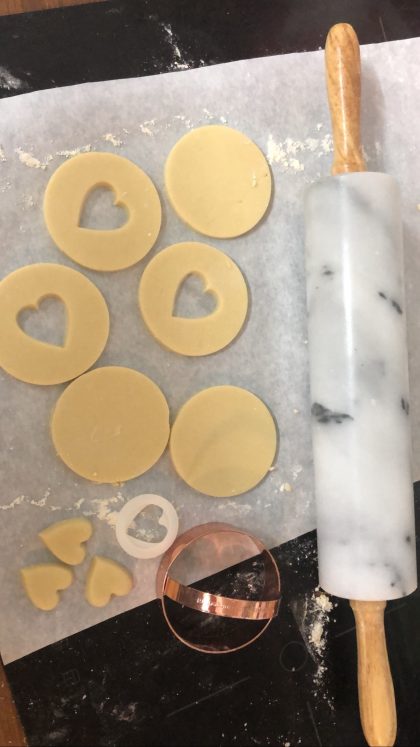
If you roll it and cut it quite fast you can start baking it straight away. If you can’t work quite fast then chill again in the fridge for a few minutes.
When you are ready put it in the oven for 9-10 minutes but keep a close eye on them as they bake very quickly.
When they are ready leave aside to cool down and firm up.
You will also need one or a selection:
- jam or marmalade
- chocolate spread
- any nut butter
- lemon curd, etc.
After cooling spread a nice dollop of one of the above and cover with another biscuit with a cut shape.
Sprinkle with icing sugar if desired.
Voila!!
Enjoy and let me know in the comments below your thoughts.
Happy baking,
Aggy Dadan


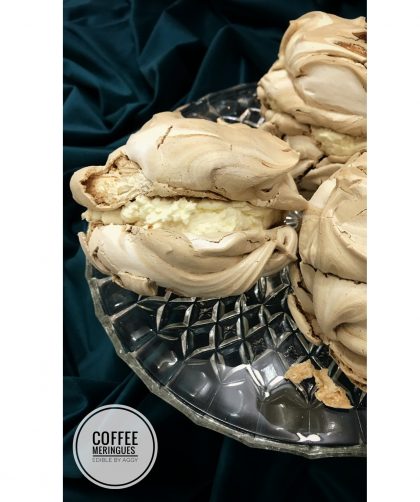


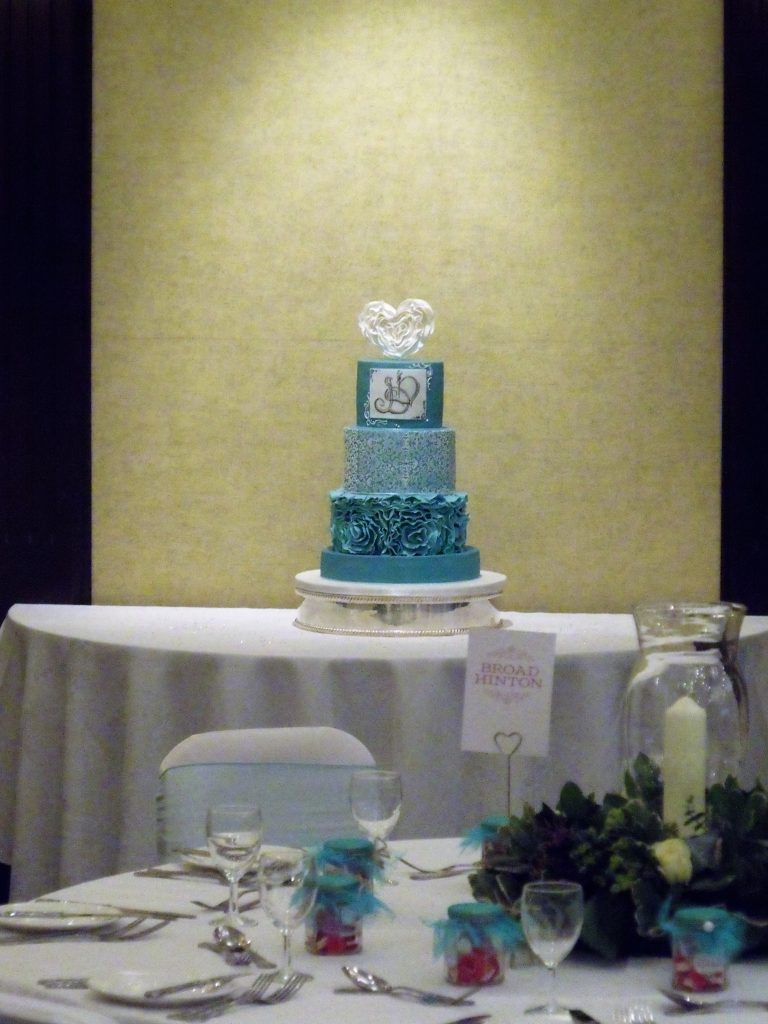 The hardest part was to match the theme colour. It was a deep shade of teal.
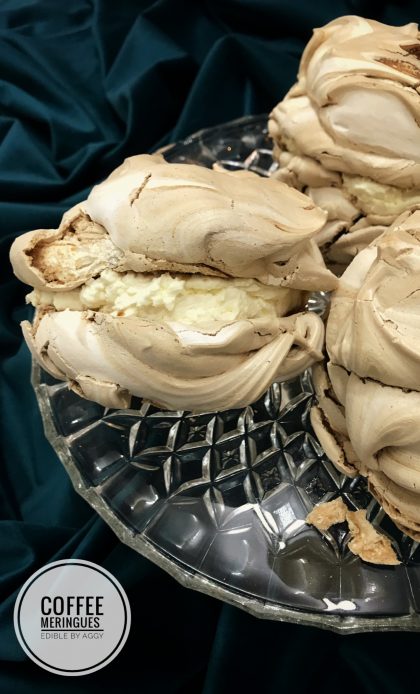