Gin Cookie Cupcakes?
My simple, easy and totally delicious Gin Cookie Cupcakes are such a treat you might not want to share them with anyone.
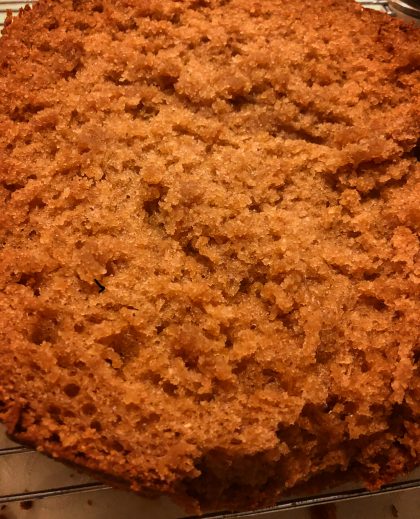
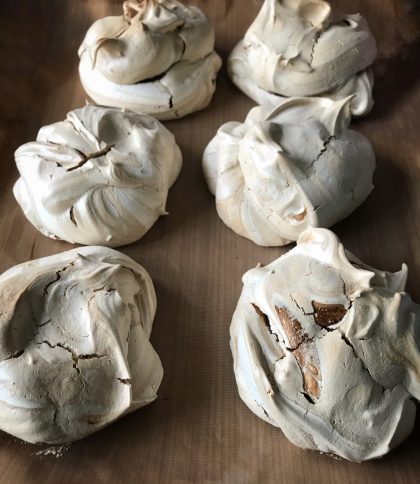
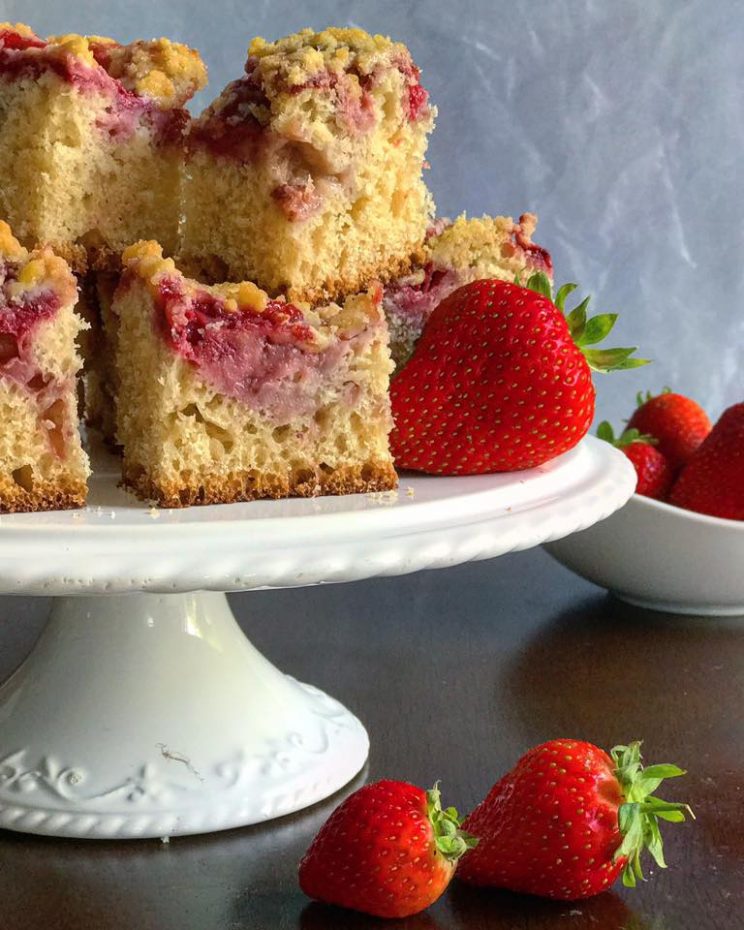
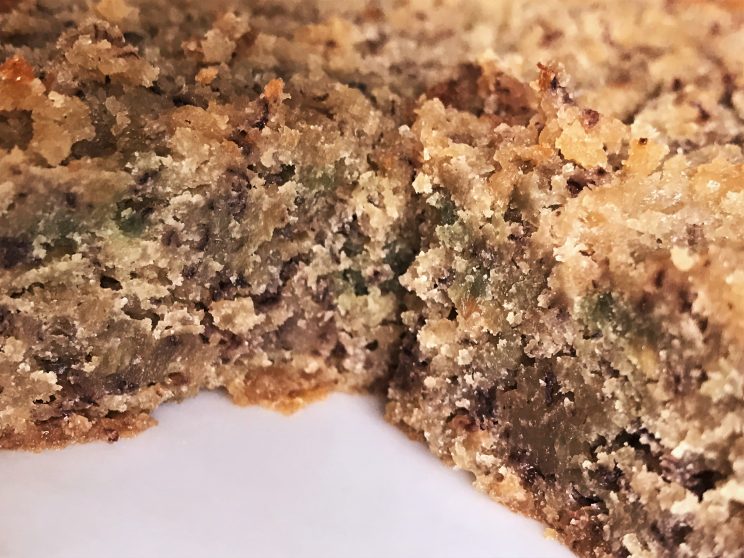
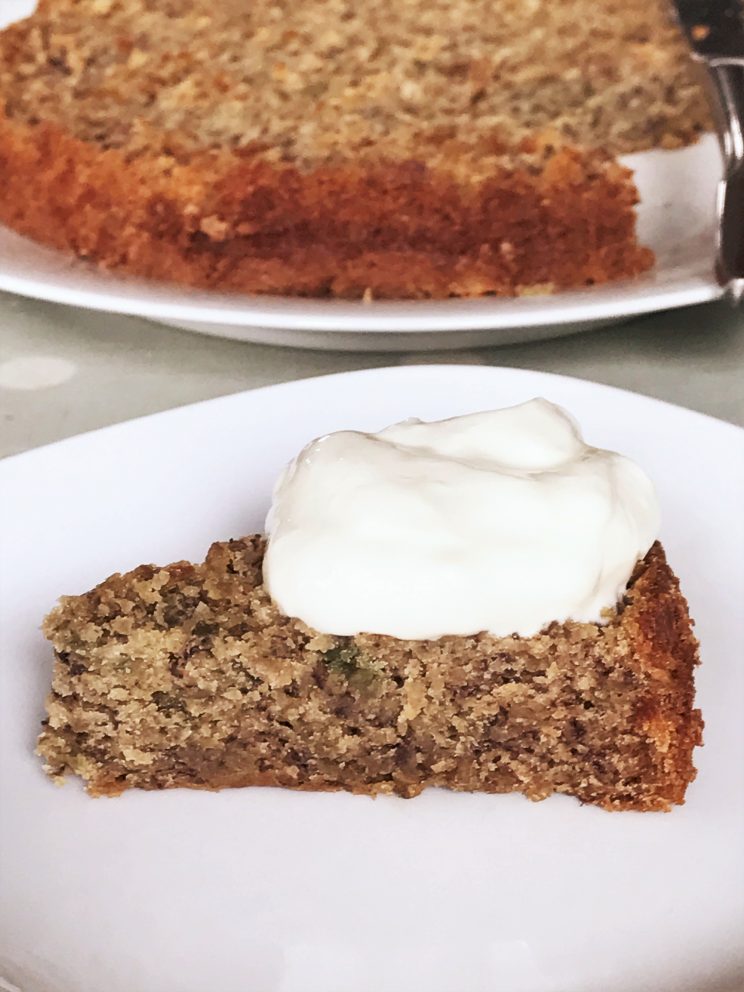
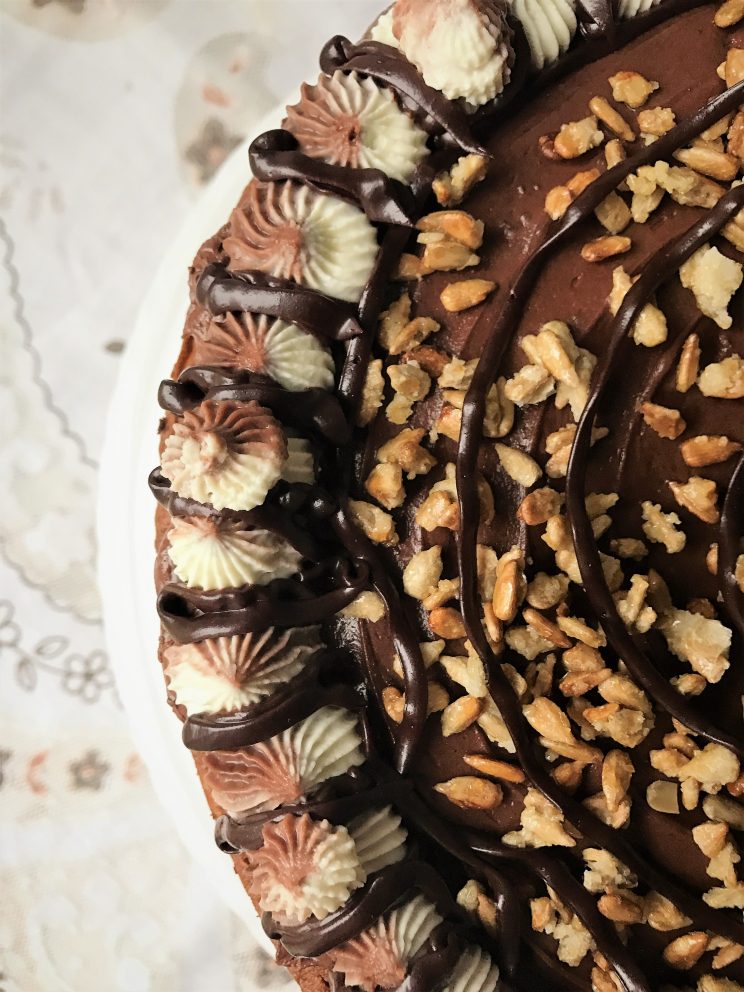
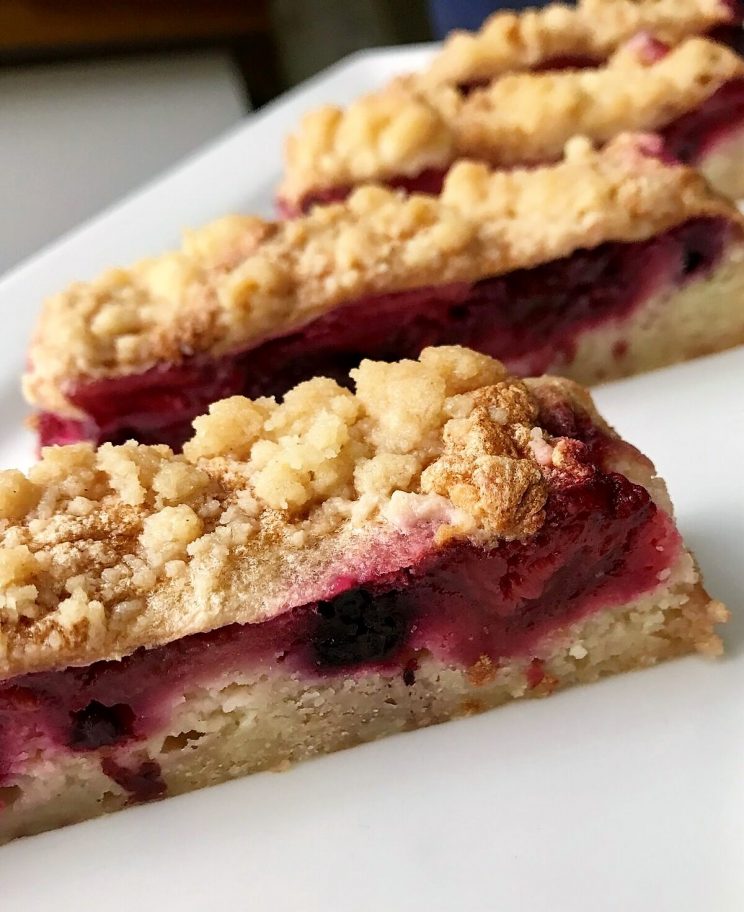
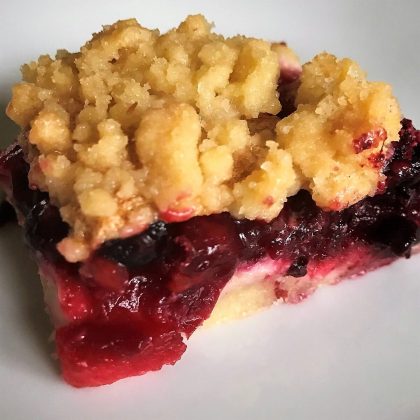
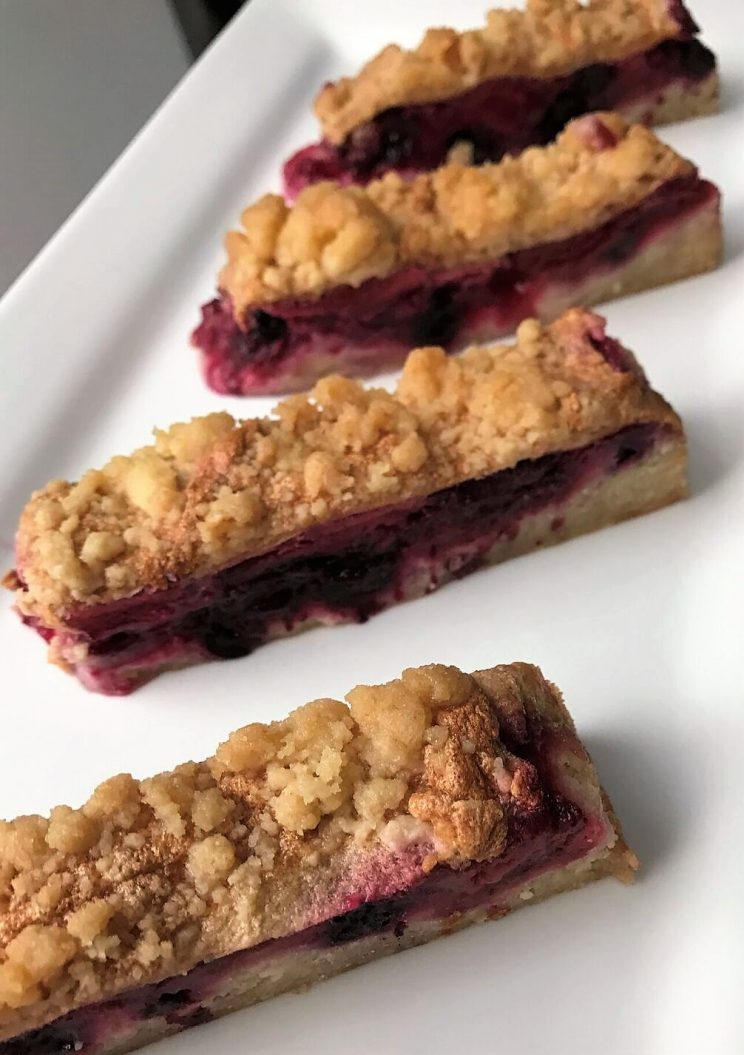
Gin Cookie Cupcakes are light, crumbly yet moist cookie cases filled with delicious sweet & sour cherries and white chocolate. You can eat them cold or hot, almost naked with just a sprinkle of icing sugar. Or you can go full on and top it off with a swirl of white chocolate and violet ganache decorated in edible flowers.
A little secret…
I’m going to tell you a little secret about me. In my previous life I’m a trained mixologist. At Christmas I put this talent to good use and one of my favourite cocktails is an Aviation.
For those of you who have never head of Aviation cocktail let me explain and you can see how this beauty of a drink inspired me.
The Aviation cocktail is a classic made with gin, maraschino liqueur, crème de violette, and lemon juice. All sounded like an a perfect match made in heaven. To make it more decadent I am adding white chocolate.
Gin Cookie Cupcakes are very easy and reasonably quick. Best way is to watch my Deadpool Christmas Special and you will see for yourself how simple Gin Cookie Cupcakes are.I am sure as soon you try it once you will love it for life!
What Gin Cookie Cupcakes taste like?
Delicate bitterness of gin, sweetness of the cherries and white chocolate and subtle freshness of lemon zest. Already a winner! Now to put it into the practice!
Today in my recipe I will be adding my favourite Aviation Gin (pun not intended it really is my favourite). However if you are feeling generous and decide to share these definitely adult only treat with the kids you can leave the gin out and add a splash of vanilla!
Method.
Turn on the oven to …. and set aside clean and dry cupcake tin
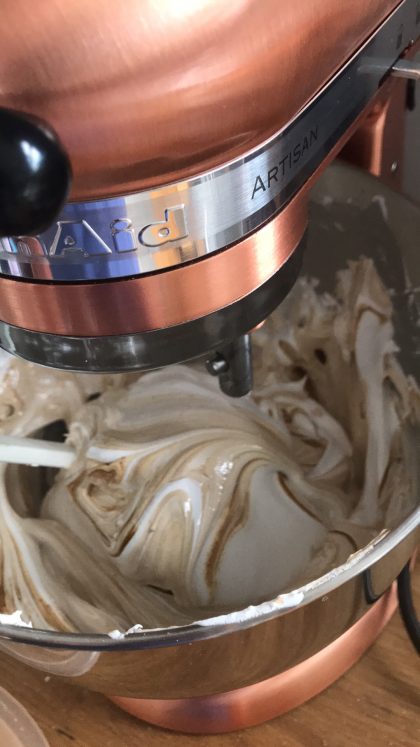
Put in your mixer bowl
- 200g sugar
- 225g butter, soft, room temperature
Cream the above together in the mixer until light and fluffy.
Add
- 2 eggs
and continue until mixed well.
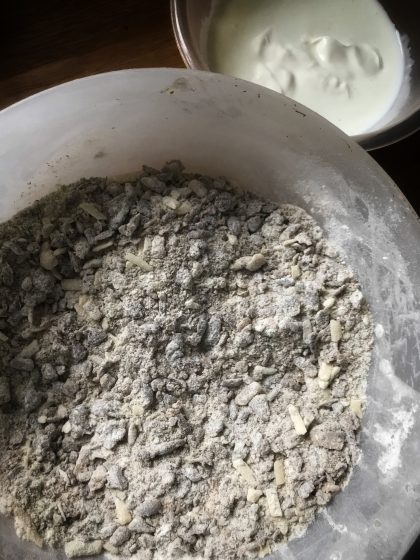
In the meantime prepare
- 120g grounded almonds
- 320g plain flour
- Couple of shots of your favorite gin
- 3/4 tsp lemon zest
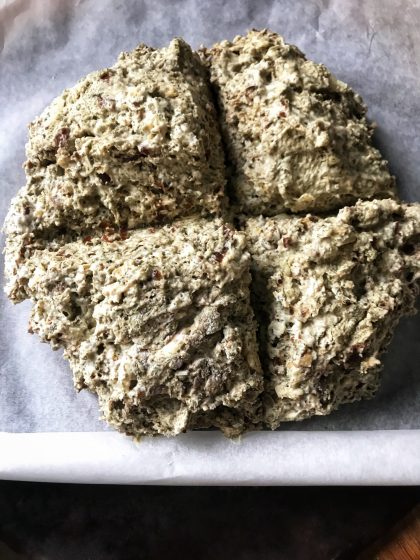
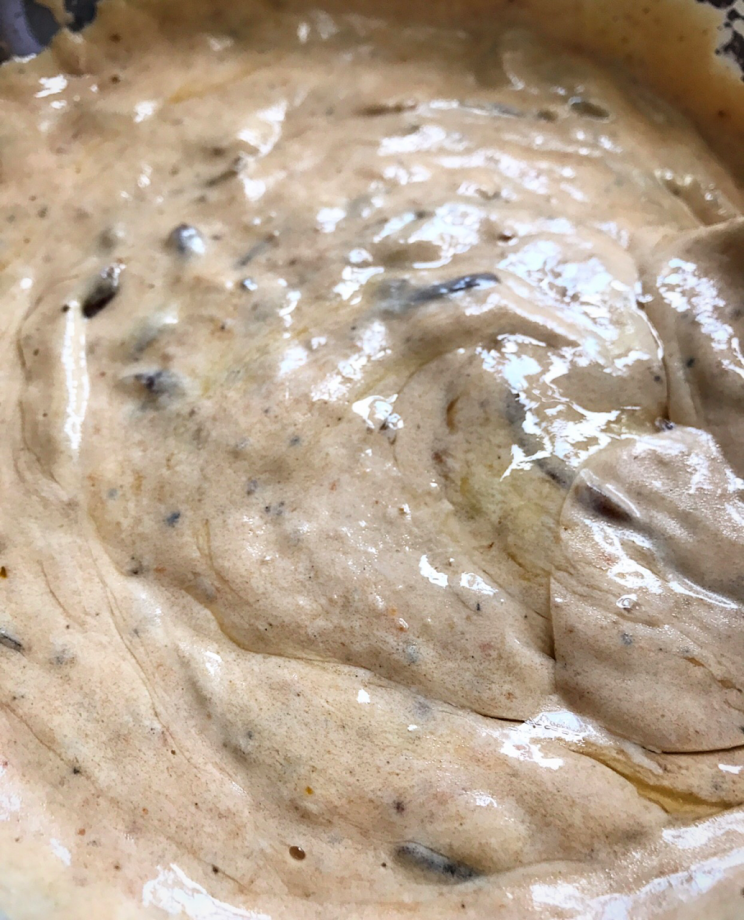
Add it all to the mixing bowl and incorporate well. Tip it onto a baking paper and roll a long about 2″ thick sausage. Put the Gin Cookie Cupcakes dough in the fridge. Rest it for a while (you can leave it for an hour or two or even overnight) until nice and firm and easier to cut.
The white chocolate and cherry filling.
When dough is resting prepare:
- white chocolate buttons and
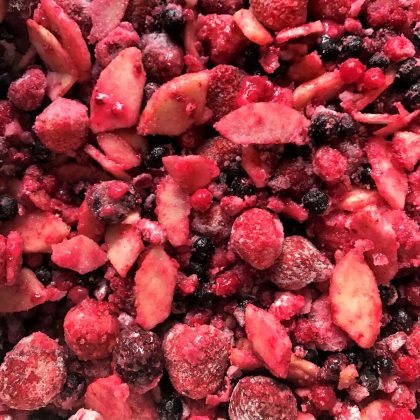
- a can of sour cherries in compote
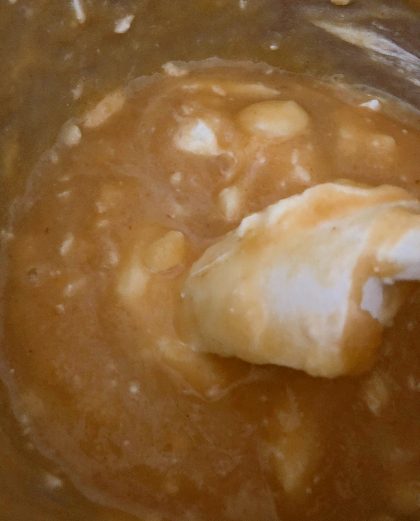
To make perfect caramelised cherries for the filling is easy. Put the cherries in to a pan and bring them to boil. Cook it slowly on low heat until the compote is reduced and the cherries are sticky and shiny.
You can watch my recipe movie ‘Baking with Aggy’ – ‘Deadpool Christmas Special’ for the step by step instructions.
Preheat your oven to 175C fan.
When you dough is set slice it to 12 discs of 3/4″ (just under 2cm) thick and 12 1/2” (around 1cm) discs and fill all the 12 cupcake wells in your cupcake pan with the thicker pieces. You don’t need to grease it or use any cases as the dough is already full of butter and will pop out easily.
Press is gently making sure the dough is well distributed and make small indentations for the filling.
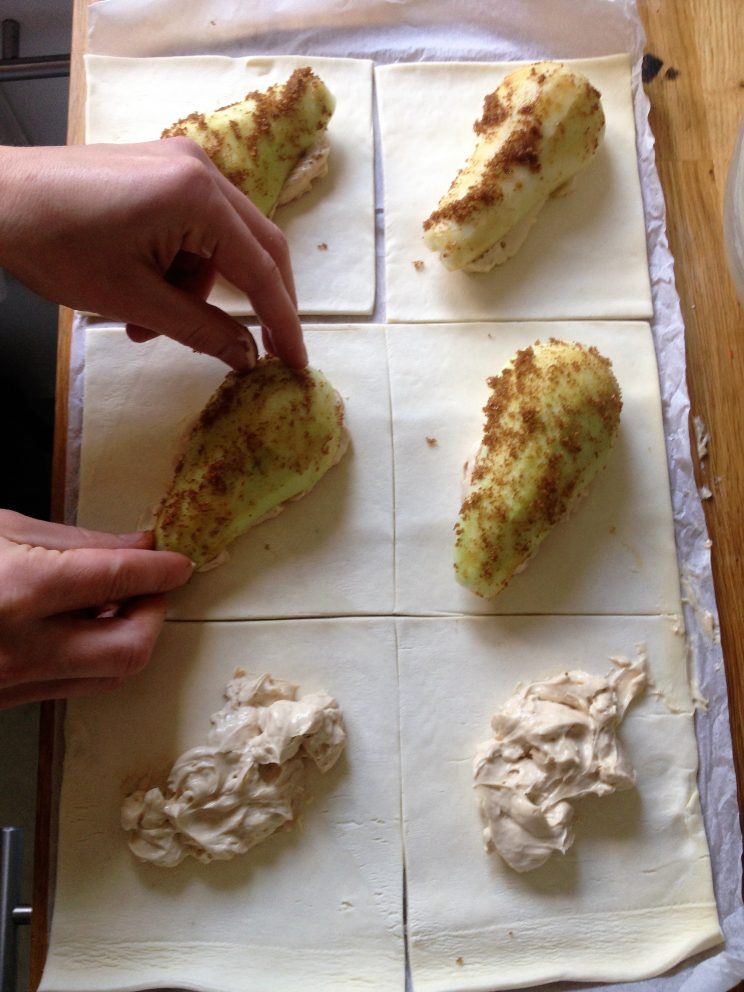
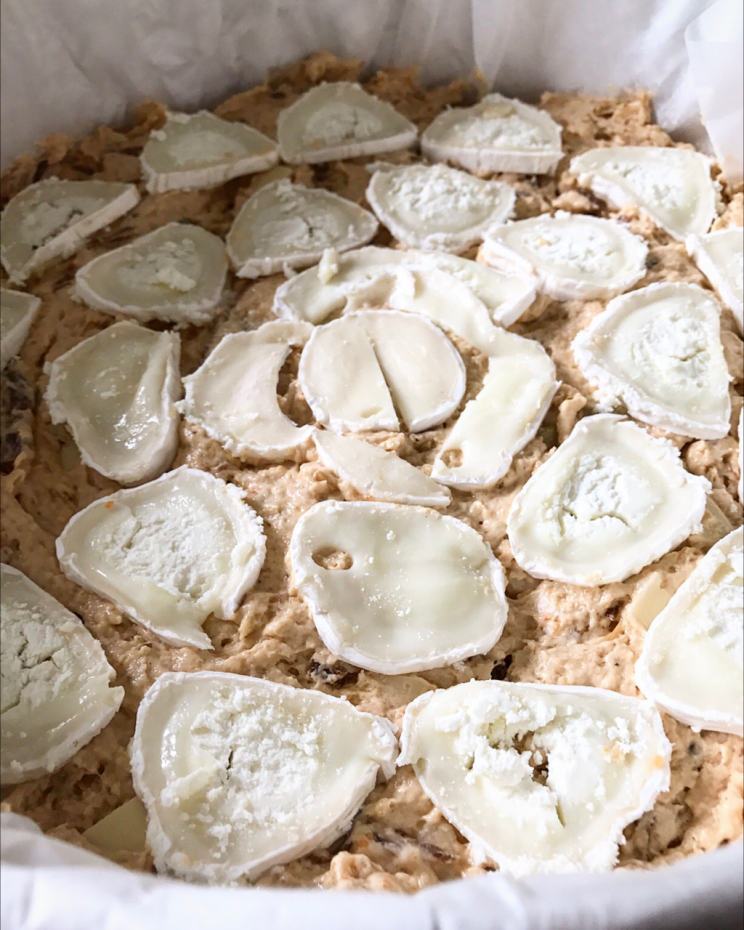
Put some cherries in each one and top it with some chocolate buttons. Then take the thinner slices and press firmly around to seal the Gin cookie Cupcakes so the filling doesn’t run out.
If the dough is still cool to touch you can bake it straight away otherwise put in the fridge for 10-15 min.
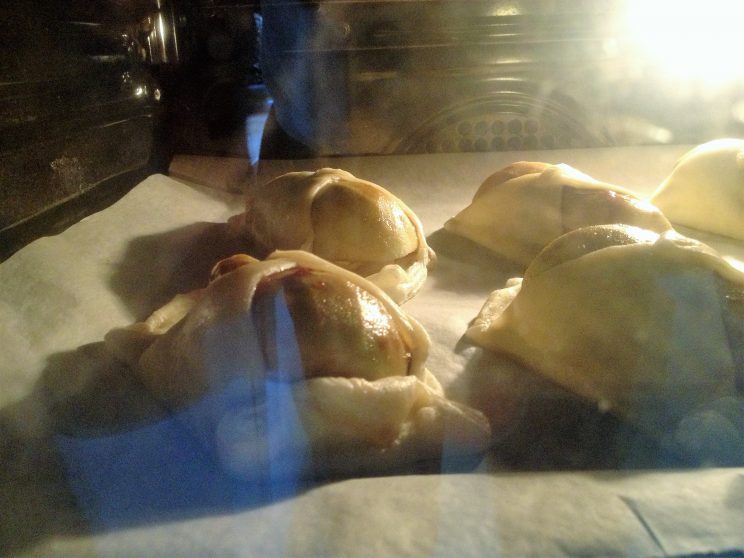
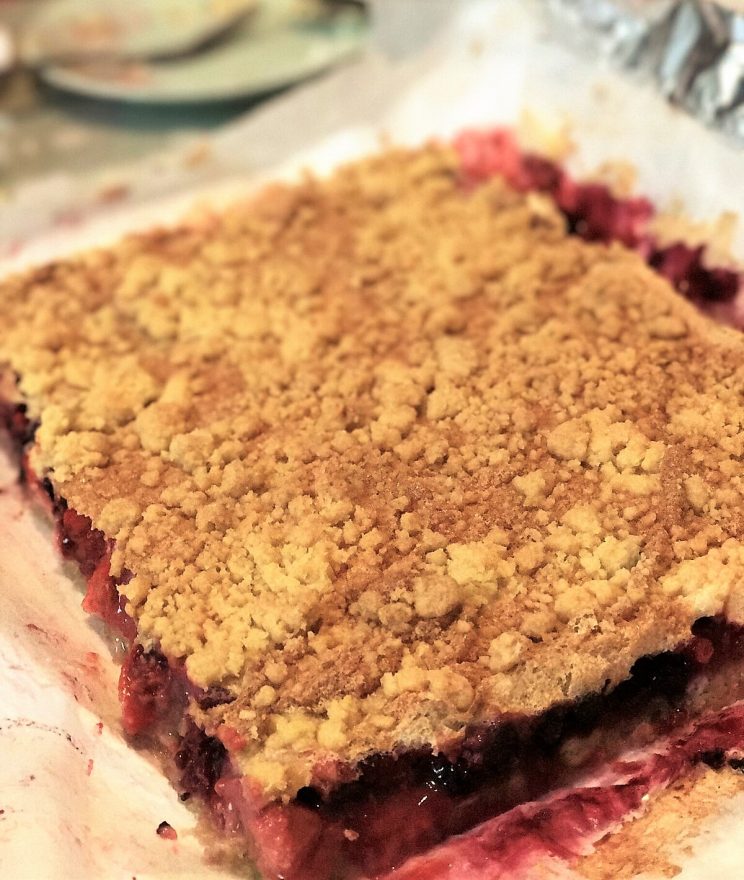
When ready put it in the oven and bake Gin Cookie Cupcakes for 15-17 minutes or until golden.
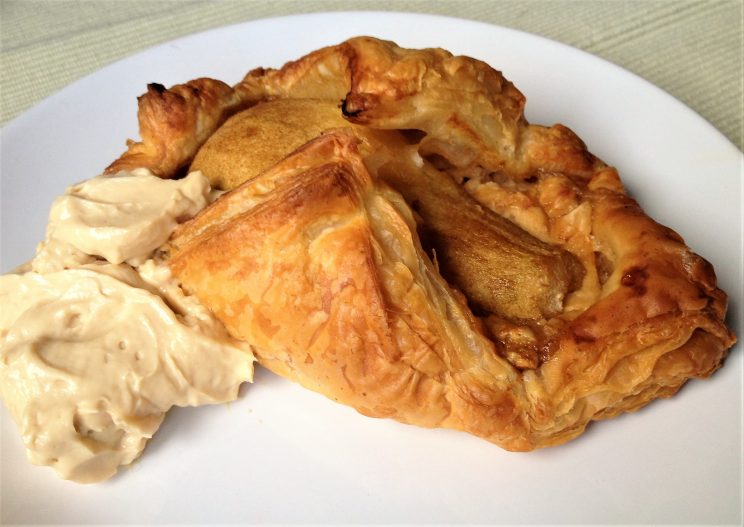
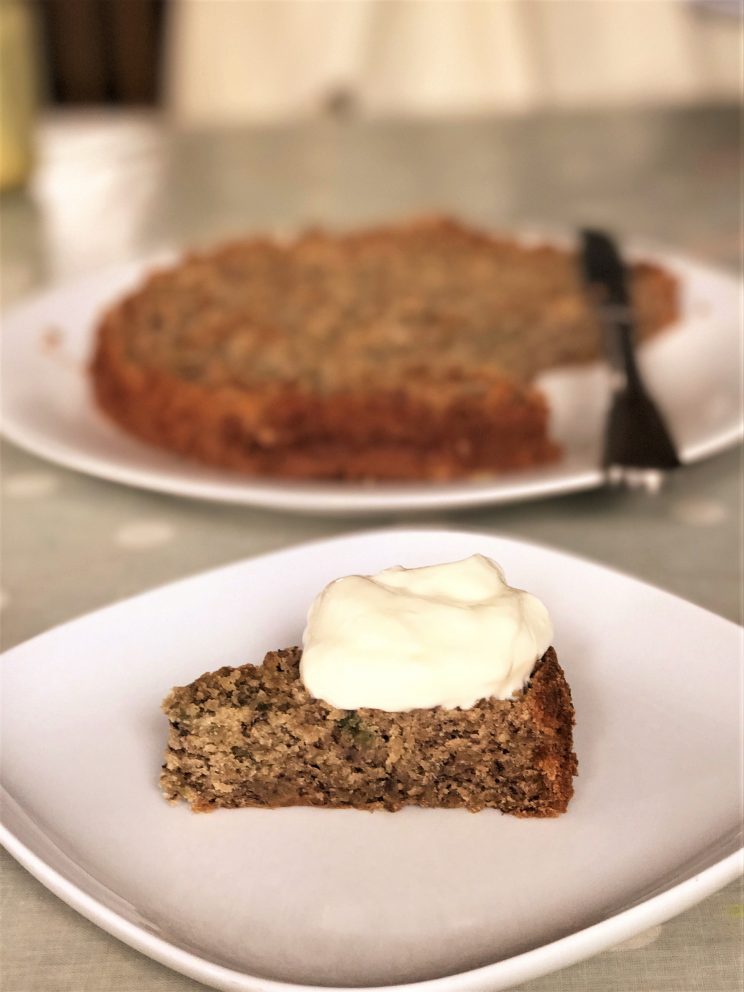
If you can’t wait to try (I can imagine how your kitchen smells like now) just sprinkle with icing sugar but if you want to save them for later top it off with some white chocolate ganache!
Voila!
Bon Appetite!
I know you will enjoy Gin Cookie Cupcakes as much as I do!
Happy baking and until next time!!
Love,
Aggy xxx


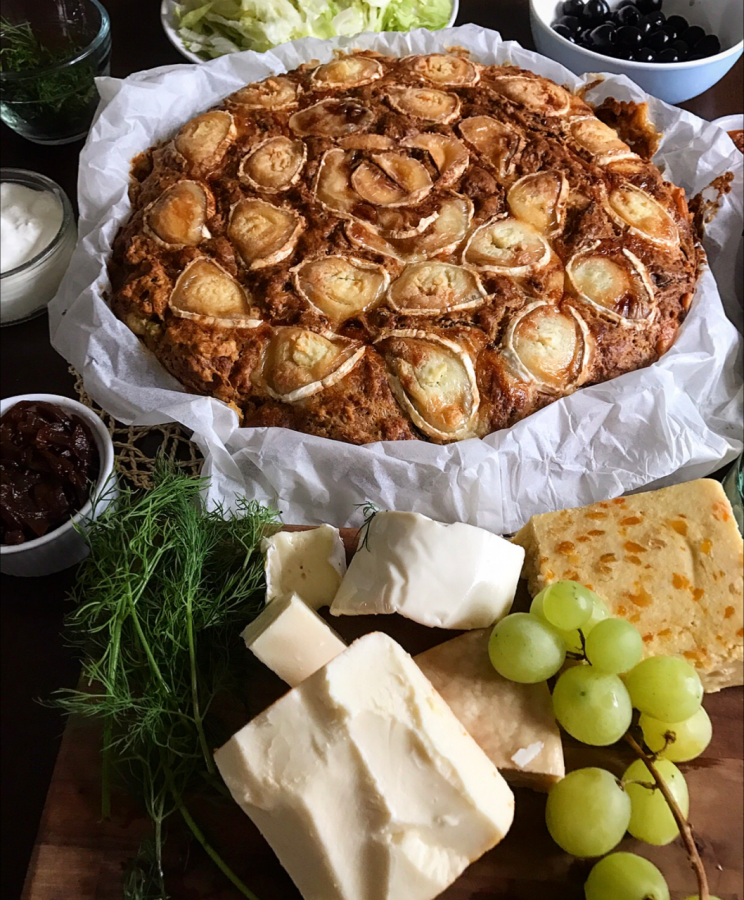
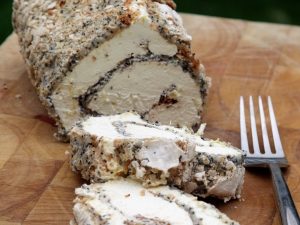
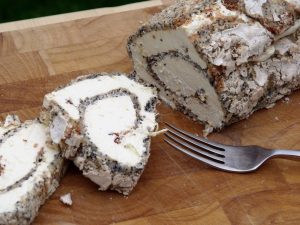
 One day I had a brain wave and wanted to make a savoury cake. Can you see where I am going here? {That’s how savoury Goat cheese cake was made.}
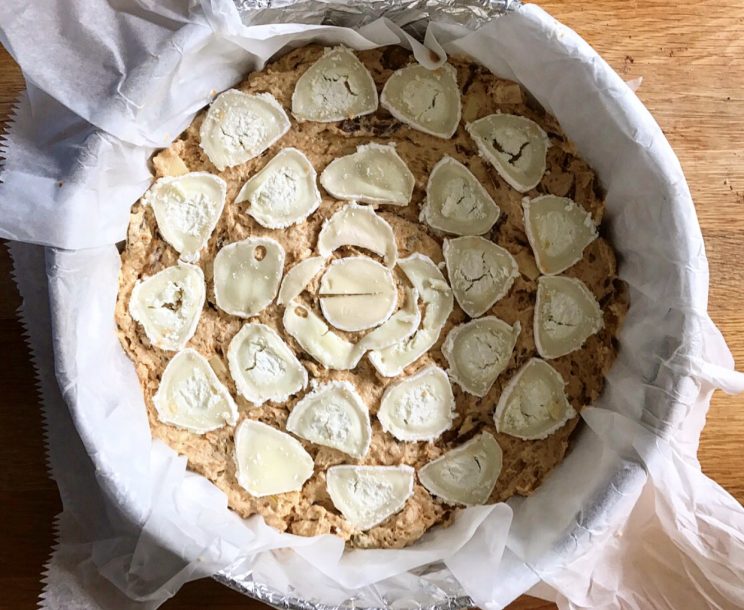


 Here at
  All the recipes will be varying in skill level but with good planning and attention to detail there should be no recipe that is too difficult for the home baker!