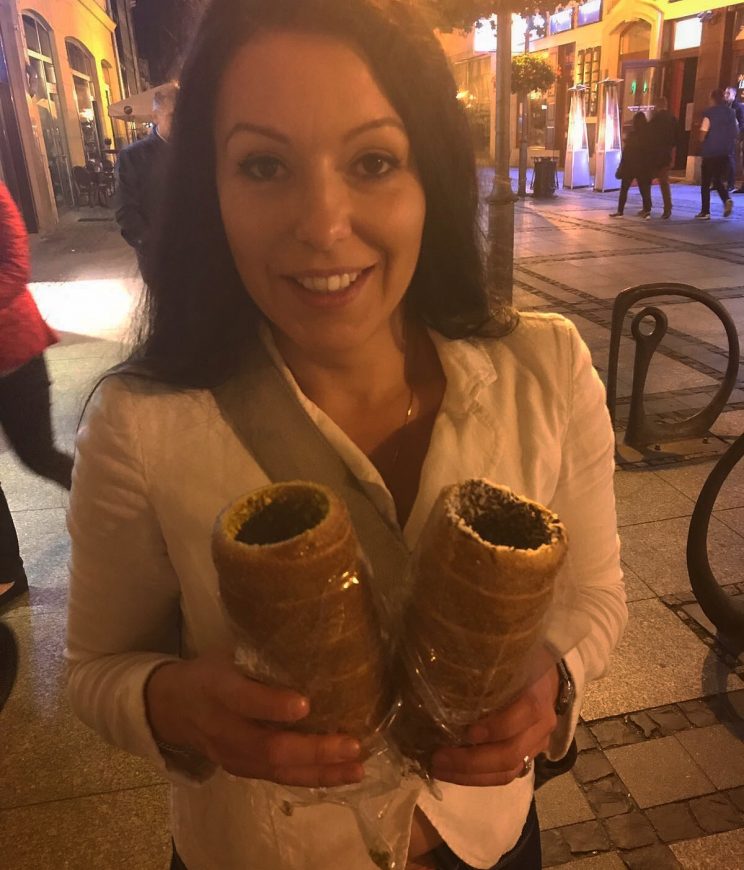
Strap yourself in, today we have an interesting one, Chimney cakes.
Chimney cakes are like a perfect marriage between churros and a warm fluffy doughnut. Ideally with a little scatter of cinnamon sugar. Filled or empty, with or without nuts and sprinkles, literally you can eat it how you please.
We tried making the Chimney cakes for the first time ever a couple of days ago. We really liked the outcome and the idea so decided to share the recipe with you.
How did we come up with Chimney cakes you might ask?
Recently we went for a road trip around Europe. We were lucky to visit some beautiful and interesting places and a few with a nostalgic warmth.
One of the places we visited was Wrocław* in Poland (*read Vrotswav).
When I was younger I spent several years living and studying there. And as I haven’t been back there for a 10 or so years I decided to stop for a few days.
While walking and admiring old haunts our attention straight away was caught by every single cake shop. In some of them we even had double helpings or bought something to take away to munch later. This time while walking through Old Town and Market Square we could smell an interesting sweet mixture and got intrigued.
A little hidden away shop front with a massive queue outside so decided to have a nose around. This later happen to be a Chimney cakes shop which was one of our favourite treats on this trip. There were so tasty we needed to recreate them as soon as possible. There was no way we could wait any longer to have another bite.
Originated from Transylvania.
Chimney cakes originally came from Hungarian-speaking part of Transylvania, Romania. They are also known within the culinary heritages of other European countries like Hungary, the Czech Republic and Austria.
Chimney cakes are made from rolled sweet yeast dough. The dough traditionally is wrapped around a special wooden rolling pins and baked constantly turn over a grill. Chimney cakes are then topped with sugar and all sorts of things.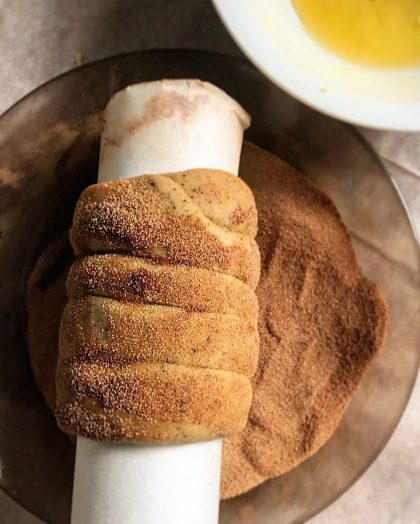
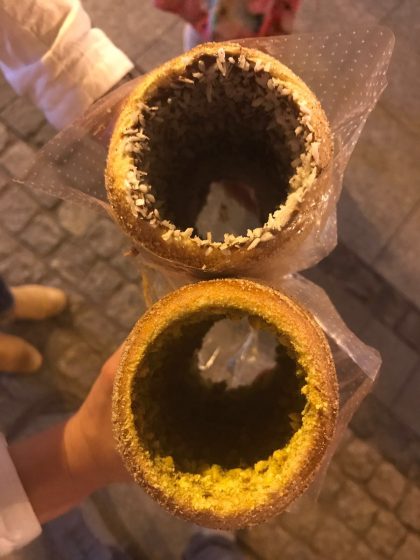
The name comes from the effect that Chimney cakes create when taken off the baking pins after baking. When they are very hot they steam from the middle, soft part of the bake that looks like a smoking chimney.
But don’t worry I have managed to adapt it for everyone to try it at home without a fancy ovens and wooden pins.
Why should you make it?
I shouldn’t really have to convince you to make Chimney cakes as they are simply amazing. Maybe a little bit time consuming as all yeast dough bakes but otherwise I would eat it warm every day.
Chimney cakes taste divine. Soft, fluffy and not too sweet. You can eat the Chimney cakes creamed inside with almost anything you can come up with. From some soft fudge, chocolate or caramel, jam or marmalade, fresh cream or even topped with ice cream. Often paired with crushed peanuts, pistachios or almonds.
Method.
This recipe will make approximately 12 chimneys.
To make Chimney cakes you will need:
- 520g plain flour
- 25g fresh yeast*
- 90g icing or confectionery sugar
- 200ml warm milk
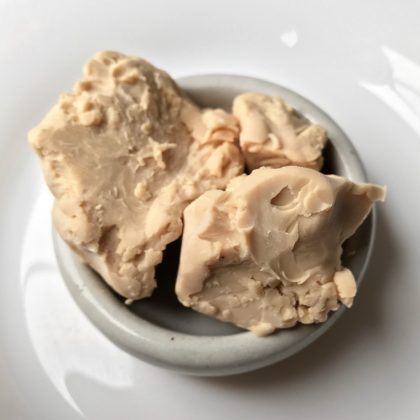
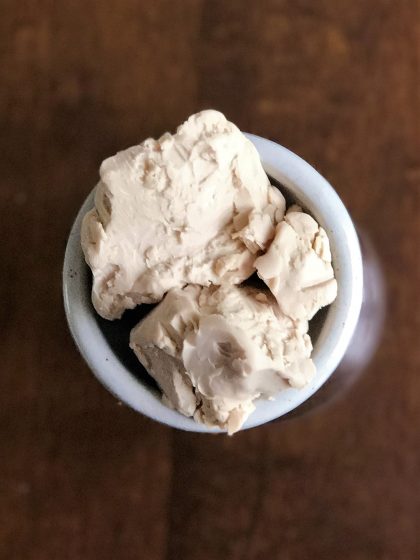
If you are using fresh yeast make a starter as directed here fresh yeast starter.
*If you are using dry yeast you can convert it here.
For the next step I use my mixer with paddle attachment. You can also work it by hand but the dough will be slightly wet and quite sticky so I prefer to avoid all the mess.
When your starter is ready place it with the remaining ingredients in a mixer bowl.
Add:
- 2 large organic eggs
- 1tsp vanilla
- pinch of salt
- 80g melted but cooled unsalted butter
Mix it on a medium to high speed for a few minutes until it becomes stretchy and smooth. Move the dough to a lightly greased bowl and cover with a cloth. Let it rest for one to two hours until at least double in size.
Homemade Chimney cakes baking pins.
In the meantime prepare some Chimney cakes pins. As mentioned earlier Chimney cakes are originally baked on wooden rolling pins that are spinning over a grill or fire. We haven’t got the luxury of the special equipment so I came up with those simple cheat baking pins.
You will be able to use them over and over again if you are careful enough. Don’t worry to much if they get damaged as they are cheap and quick enough to make some fresh each time.
What you will need:
- baking paper
- tin foil
- a few empty kitchen paper towels rolls, ideally 6 – 12 tubes
Roll each tube in tin foil and push the ends inside the tube. Follow this step for each tube and then follow the same with baking paper.
Turn on the oven to 200C, 180C fan.
Shaping the dough.
Take the dough for Chimney cakes out and slightly work it again. It will be quite sticky but you can use some plain flower to sprinkle for easie rolling.
Roll the dough quite thin, approximately 1/4″(1cm) and neat rectangular shape around 15″(45cm) long by 12″ (30cm) wide. The tidier the rolling, the easier the next step will be.
Cut it with a pizza cutter to straight, 1″ (2.5cm) wide strips. You should end up with 12 strips. Roll each strip on the mock up baking pins and tuck the ends under the dough.
When you wrap it around the tubes it might have some gaps but that’s ok. Roll it a few times like you would roll a rolling pin. TOP TIP. I push my tubes onto a rolling pin for easier rolling. Make sure there are no gaps in the dough after rolling. Then press and roll it in the cinnamon sugar mixture.
Put it in the oven standing up. I remove all the oven shelves and use my lid rack to keep the tubes in place. Bake for around 12 – 15 minutes or until golden brown but do not overbake. They need to be on a lighter spectrum from the inside.
Standing my Chimney cakes was easier and quicker to turn them around so they bake evenly. If you haven’t got anything to hold them securely you can also use a narrow baking tin ad hang them on long skewers.

